So, what do you have in mind for importing Windows Live Mail contacts to your Android phone? Type them manually? It is obviously impossible. And the method Microsoft tells is indeed troublesome. I believe you won't do that.
According to the company, you need to open the Mail, and export the information as a .csv or .vcf file. Then users will have to transfer it to the handset. Complicated, isn't it? You should definitely try our way. With Android Manager, there are three steps in all and the details will be well described on the software.
Copy Contacts from Windows Live Mail to Android Phones
Step 1. Connect Your Android Phone to PC
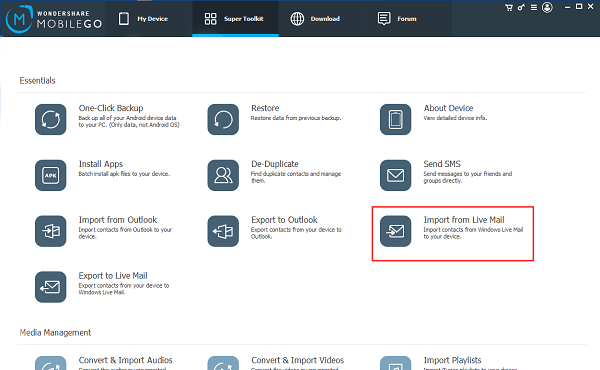
The phone I use for this is a Nexus 5. By the way, there are more kinds of file that it can deal with. If you want to know more about this Android Manger, follow the link and read. Click the download button above and when you install the software, open it. Choose Super Toolkit on the top of the interface and then Import from Live Mail.
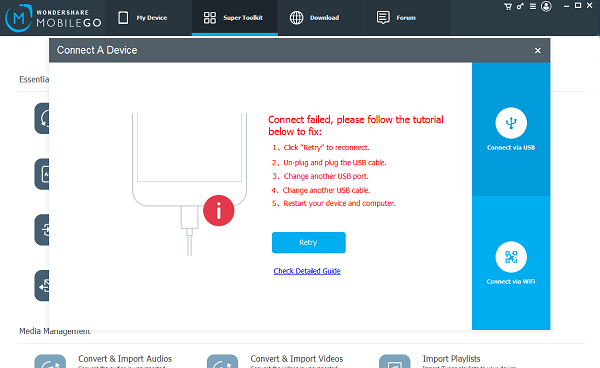
And it is time for you to connect the devices with an USB cable. If the instruction below comes up, there must be something wrong with the connection. Follow it to solve the problem.
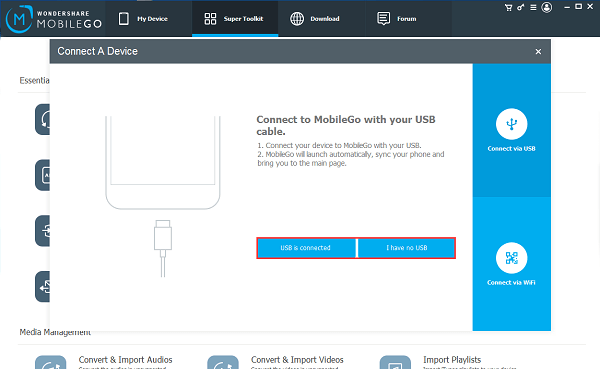
You can also choose I have no USB. And the program will tell you to download the MobileGo app and scan the QR code.
Step 2. Enable USB Debugging
In case you don't know what USB Debugging is, I will make a brief introduction. It is intended for development purposes, and we need it to copy files between PC and phone. But, when you are done with the copying thing, it can be turned off.
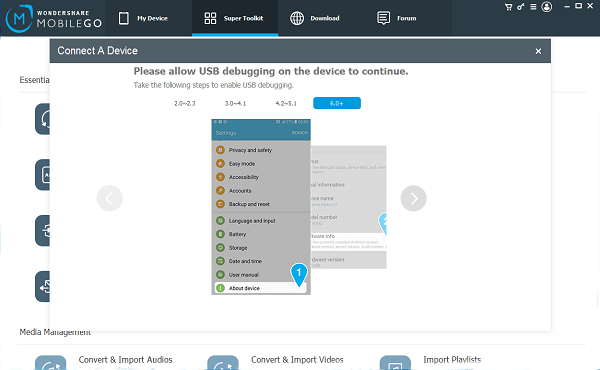
Android Manager will teach you what to do. As you can see, my Nexus 5 is based on Android 6.0, so the program show me how to operate on this version. Things could be different on your devices. And my steps are: About device > Software info > Tap Build number for 7 times > Developer options > USB debugging.
Step 3. Copy the Contacts to Android Phone
After Step 2, a box might pop up, telling you the number of contacts detected. Click Import and it is done. Then the interface will change.
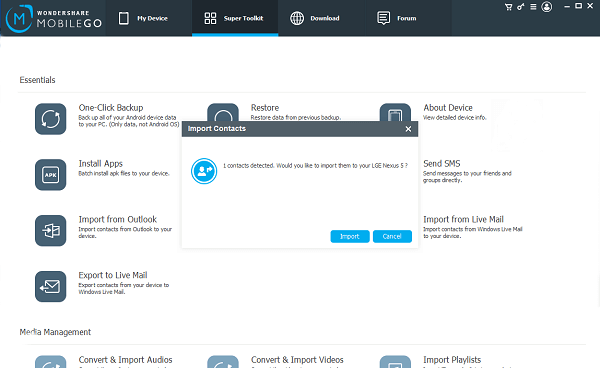
Note: If you do not see this pop-up, try clicking the Import from Live Mail again.
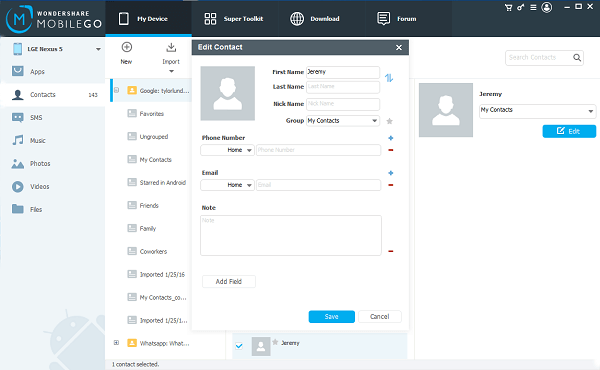
You can now see the details and even add more information if you tap on Edit on the right side. When the button Import is used, you can select which account will be storing the information. (In the middle, there are three of them. Use the mouse and see more.)
Apps, Contacts, SMS, Music, Photos, Videos, and Files are all supported. And it save so much time, compared with normal ways—manual transfer. By the way, there are free trials for five days.
