Sometimes we can get warning from our Android phones, which says that the storage is running low or the battery icon turns red to inform us of battery lower than 10%. Although they are not really serious, to solve these situation would let us use our devices comfortably. Rooting Android phones or rooting Android tablets is the suitable way not only to prevent those warnings occurring frequently, but also to allow you to perform beyond some limitations.
As for me, to change some original settings like wallpapers and ring-tones is what I root Android for. Besides, iRoot offers hands to make me root my Samsung easily. Of course, you can apply it for rooting your LG, Sony, Nexus, HTC, etc. with Android 2.2 or above. If you have the same problems, come with us to move on.
Part 1. How to Root Android via iRoot
Step 1. Launch iRoot on PC
Go to download iRoot on your computer and launch it.
Step 2. Enable USB Debugging
No matter which type of Android phone you are using, it is necessary to set up USB debugging, so check which one is proper for you below.
- For Android 4.2 or newer Users: Enter "Settings" > "About Phone" and click "Build number" for several times until "You are under developer mode". Go back to "Settings" > "Developer options" and check "USB debugging".
- For Android 3.0 to 4.1 Users: Tap "Settings" > "Developer options" > "USB debugging".
- For Android 2.3 or earlier Users: Move to "Settings" > "Applications" and "Development" > "USB debugging"
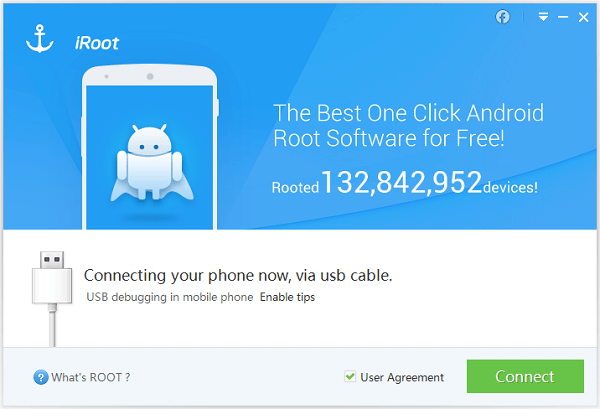
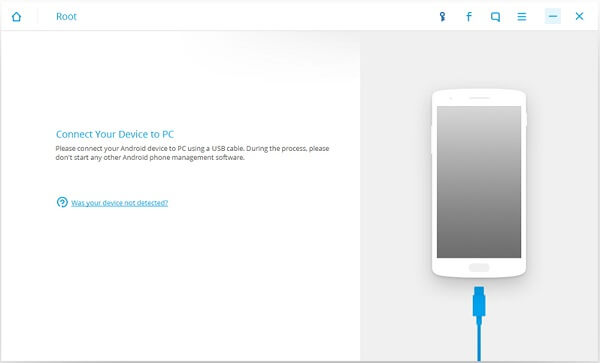
Step 3. Connect Phone to PC
Connect your LG, Sony, Nexus, HTC, Samsung to computer via data cable. After that, your devices will be scanned.
Notes: If you are confused about what root is, it is possible to get details when pressing "What's ROOT?". Moreover, it is suggested that you should back up your Android phones in certain way.
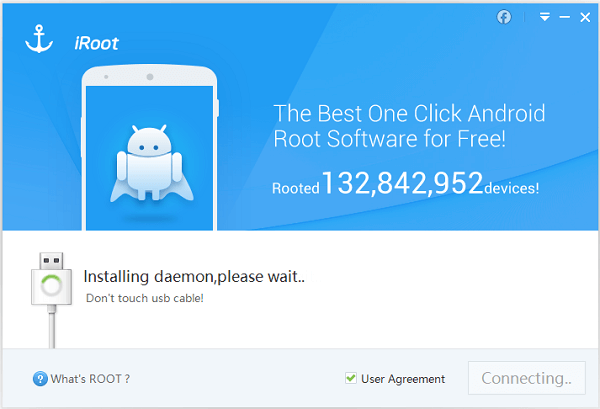
Step 4. Start to Root
Click "Root"/"Re-root" button on the interface to start the process of rooting. Then, your phone will reboot by itself.
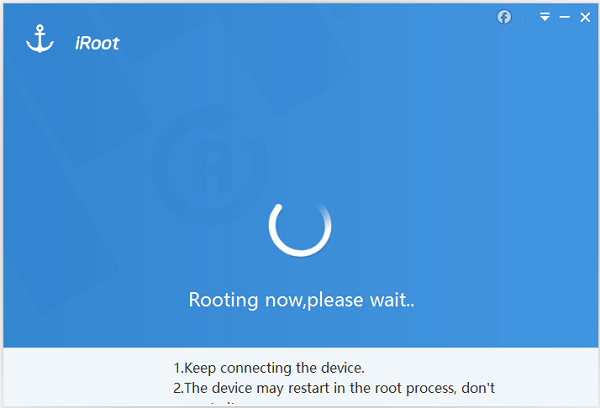
Notes: Your devices battery should be over 50% so that the rebooting process would operate well.
Step 5. Complete Rooting Process
When the process is over, you can try the root tools that iRoot provided.
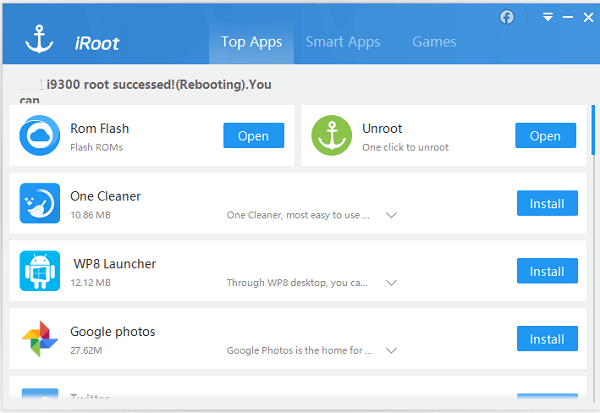
Notes: Actually, this rooting app may not support all kinds of Android device as there are Android phones and tablets.
Part 2. Alternative of iRoot
Android Data Recovery allows you to root your Android in a surprisingly simple way. All you need to do is to download the program on your computer, and connect your Android to PC via USB cable and then have several clicks on the program. You are able to achieve the goal even without the tutorial as the program doesn’t require any technical operation when using.
That's it! Such simple way it is! And you can gain the right to control or manage your Android phones beyond limits. I think you can compare iRoot and other rooting software like Super Root, Android Root and Kingo Root, to select the suitable one to root your phones or you can share other safe rooting apps with us.
