Towelroot, developed by the hacker Geohot, is one of the most popular rooting Apps around Android users. Normally, if you want to root your Android phone, you need to have a computer, your device and also a few programs downloaded and installed on your PC. But now, we can abandon this traditional method and make it much easier. Now, I want to talk about how to use Towelroot to root Android, please continue to read.
Method 1: Use Towelroot to Root Android
Towelroot allows you to root your Android device that have a kernel bill date earlier than June 3, 2014 like Samsung Galaxy S5/S4, Nexus 4/5 easily. The later versions of Android like Samsung S7 edge, maybe you need to have a try and figure out whether it can be rooted or not.
1. Please enable your Android device to install Apps from unknown sources by going to "Settings > Security > Unknown Sources", which will allow you to download and install the Apps that is from the other sources outside the Google Play.
2. Download and install the Towelroot App on your deivce.
3. Launch it and you can start to root your phone by tapping the rooting button.
4. The rooting process needs some time, please wait patiently. After that, you can get a rooted phone.
Though Towelroot can root your Android with the click of a button and it even doesn't need to connect to computer, it does have its limits. Please check it below:
1. It is only a rooting tool, and you have no idea whether it is rooted successfully or not. So maybe you need to download and install the other App like RootChecker to make sure if your device is rooted or not.
2. As Towelroot would grant the permission for every App if it asks, it is surely not safe and may cause the security risk. And you are recommended to install the SuperSU as a root management app.
3. It can not work with all the different types of Android device. For instance, it won't fit with Motorola or HTC phones and the some other new models.
Anyway, you can still have a try. But if you like to work with a more effective method to root your Android device and don't want to waste time to figure out whether it can fit your situation or not, please continue to read, and I will introduce you the second to achieve the result.
Method 2: Use Android Data Recovery to Root Android
Android Data Recovery, a program combines with multiple functions, could help you to root your Android device with several simple steps. Please download the program on your computer and have a try!
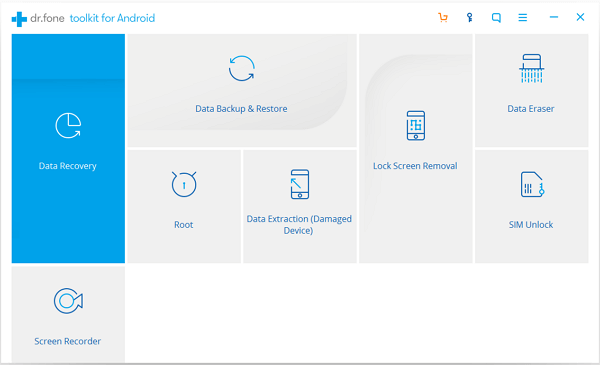
Step 1. Launch the Program
After you download and install the program, please launch it on your computer. Then just choose "More Tools > Android Root" on the interface.
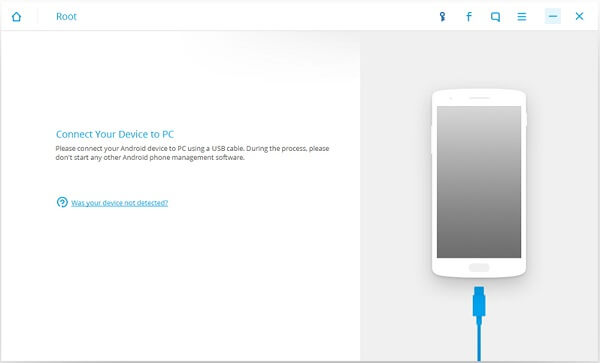
Step 2. Connect Android to PC
Now, please plug your Android phone into computer via the USB cable that comes together. Then you need to go to your device and enable the USB debugging.
Note: Please do not run the other Android phone management software during the process.
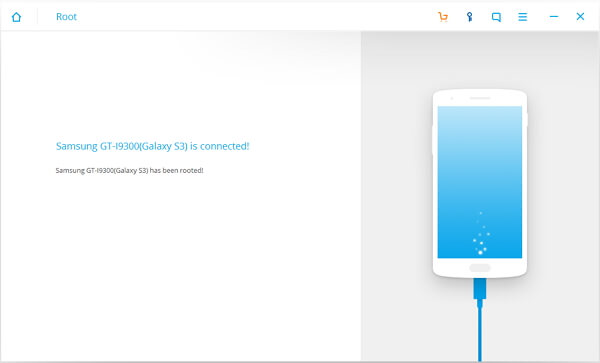
Step 3. Scan the Root Status
The program would start to check the root status automatically. You can see the screenshot as below if your Android has been rooted.
Otherwise you can continue the rooting process when you see the following interface.
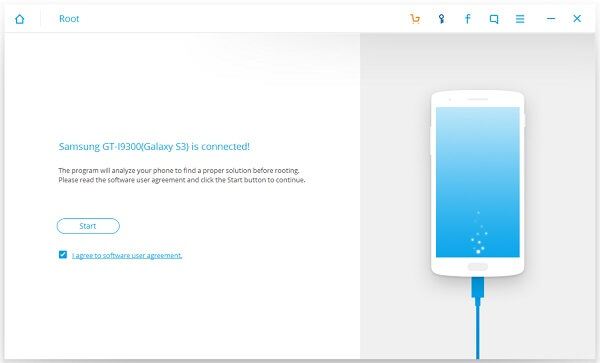
Step 4. Check Your Android Can be Supported or Not
Please click “Start” button after you find out that your phone has not been rooted and the program would begin to detect whether the phone model can be supported or not.
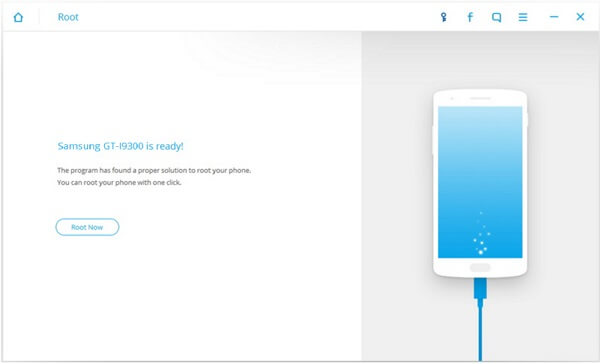
Step 5. Root Your Android Phone
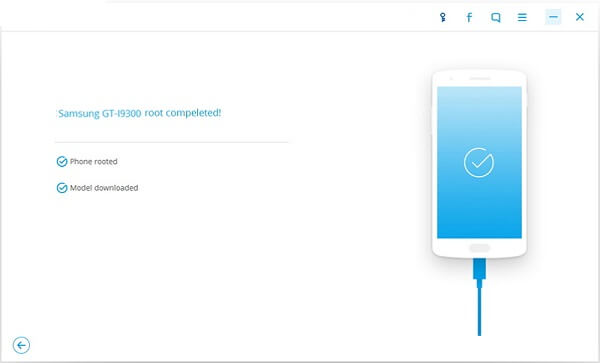
You need to click the “Root Now” button to start the rooting process. After a few minutes’ waiting, you will get a rooted device.
Selecting the right method for your situation is pretty important because it could save you a lot of time and make your life easier. Any questions please drop us a comment!
