Snapseed, which is released by Google, acts as a very professional and effective photo editor for most of the users. With a very beautiful operation interface, Snapseed allows you to edit and beautify your picture in several simple steps, and of cause, you are able to share it to your friends or save it on your Android after the editing is done. However, the risk to lose these wonderful photos is pretty high as some accidents could be happened with our Android device. So you may ask how to get the Snapseed photos back. Please continue to read and you will find out the solution.
This article would show you how to edit and beautify your photos with Snapseed in part 1, while in part 2, you are able to learn the way to recover the lost Snapseed photos from your Android device in a very simple way.
Part 1. How to Deal with Photos via Snapseed?
To make your photos looks more terrific or edit them in a way you want, you can take a glance at the guide below to start to edit photos with Snapseed:
1. Download and install the Snapseed on your Android device.
2. Launch the App and start to deal with photos by tap the "Open photo" icon on the interface.
3. You are able to check more details by tapping the "┇" icon the upper-right corner of the screen.
4. Then choose the one you want to deal with, and then just click the pencil button on the down-right corner to begin editing. It allows you to tune, crop, rotate and brush, etc. Please just do what you want.
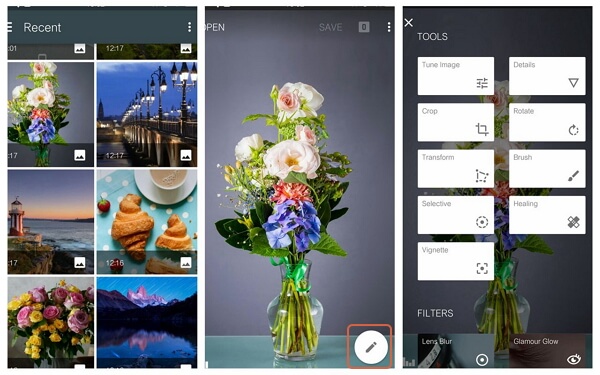
5. When editing completes, you are able to share the beautiful photos with friends by going to "┇> Share". And please tap "SAVE" icon on the top pane if you want to keep it on your Android.
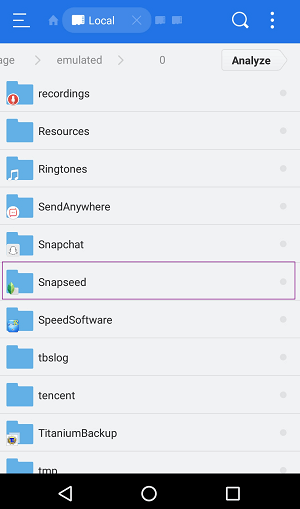
Tips: Locations of Snapseed Photos on Android
After you edit photo with Snapseed and save it, you are able to go to your Gallery App on your device to find out Snapseed Photos in the folder named "Snapseed", or just open File App on Android and navigate to /storage/emulated/0/Snapseed (the location may be a little bit different on some Android phone).
Part 2. Guide to Recover Snapseed Photos on Android
To recover the lost Snapseed photos, you are recommended to use Android Photo Recovery to get your pictures back. First of all, please download and install the program on your compute by clicking the download button below.
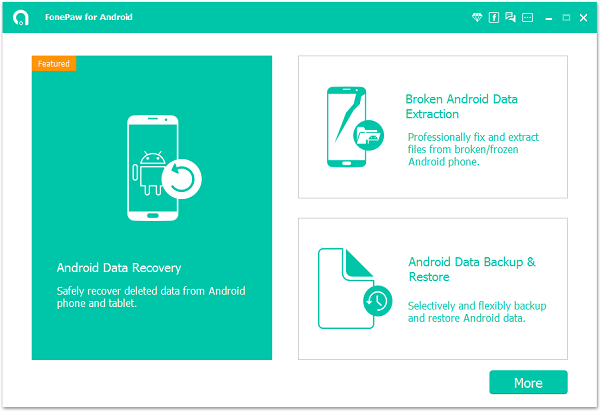
Step 1. Launch the Program and Plug Android into Computer
After the downloading completes, please launch the program. Then you need to connect your Android device to computer via the USB cable that is matched. Now, you would be prompted to enable the USB debugging on your Android.
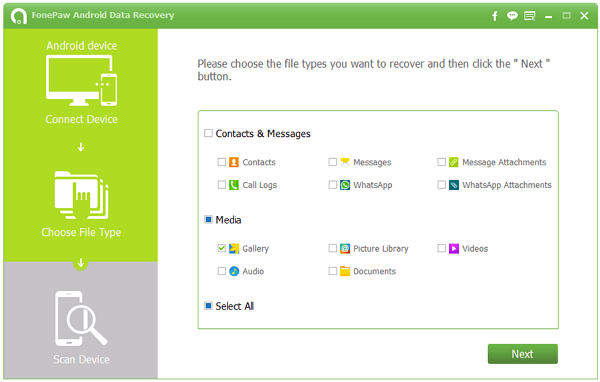
Step 2. Choose the File Type to Scan
Once your Android gets detected, you are able to see all the file types on your device are displayed on the interface. Now, please choose the "Gallery" and click "Next" button to continue.
Step 3. Scan Out Snapseed Photos and Recover It
The program would scan your Android automatically and you need to grant the request of it for authority on your device. Once it finishes scanning, you are able to check the Snapseed Photos and preview them before they get recovered.
Note: If you are not quite sure which are the Snapseed Photos that you need to recover, please click the information icon and the details like size, data, name, source and more of the image would be shown.
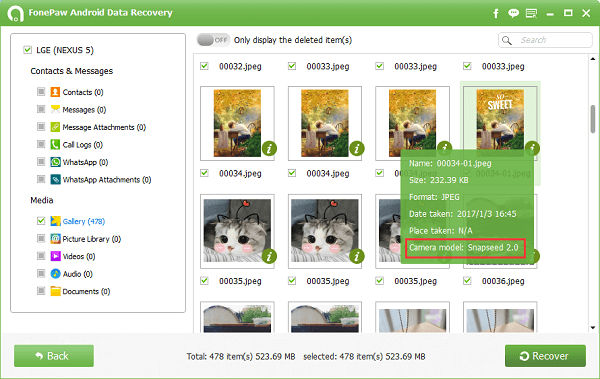
Select the ones you want to recover, and then click "Recover" button to export the deleted Snapseed Photos to your computer.
As you can see above, you are able to retrieve the deleted Snapseed Photos in three simple steps. So why not download the program to have a try? If you have any question, please drop us a comment below!
